Garden project

Saturday, June 23, 2007

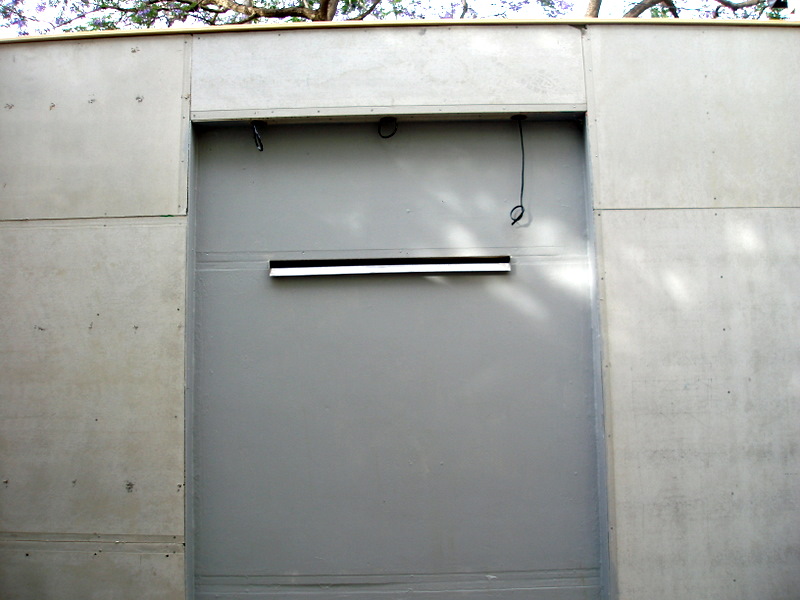
Some daylight photos (23 June 2007)


Saturday, June 02, 2007

The lighting is installed!! (8 May 2007)

Well, it's finally over. Back at the end of January, we finished painting, and planted the garden; and in the last week of February, we installed the lighting.

All that's left to do is paint the french doors that now connect the new area to our back room, and start the series of BBQ's and dinner parties to enjoy this new entertainment area. I will take a few more photos during the day, but this is one of my last posts for this project.


Friday, June 01, 2007

We continue painting (14 January 2007)

Second weekend of painting. We have started the first coat of paint.

One trick we used to create a sense of depth in the recessed walls was to use a slightly darker tone of the same color for the insets. Although this meant a bit more work due, the result should be worth it. Because of this, today we started with the lighter colour - it will be far easier to correct with darket paint if there is some 'paint bleeding' through the corners.


Time to paint! (6 January 2007)

With the help of Steve, my brother in law, we started roller-painting the walls today. A lot of preparation time went into protecting the pavers with plastic sheets. After a nice BBQ-made hamburgers for lunch, we finished almost all of the undercoat for the walls.


We get ready for a long day of painting

First we painted with an exterior undercoat

The undercoat was excellent practice to get the technique right


Hmmm... yummy lunch!


The walls are rendered, and the area is paved (29 December 2006)

We're getting there!! After finishing most of the structures, we hired a couple more professionals to help us.

First, we struggled finding someone to do the rendering of the walls - no one wanted to take on the job without warning us that they could not guarantee their work. In the end, we found Dino Barros from ABC Textures (02-9554-7889), a specialist in textures finisges for internal and external rendering. After observing the finished job, he decided he could deffinitely do a quality job on the render.

After he ws done, we decided to hire some help for the paving work, to ensure that the levels were right. Our trusted handyman had recommended Joe, who did an absolutely awesome job, as can be seen from the photos.

With the help of these 2 professionals, we are getting to the point where this is taking shape. We're not that far!!!


The pavers coming from the new area to the garage entrance


Rendered walls and paved area... looking good!


In this last stage, we also decided to make the lawn
a bit bigger than in the original design

The back of the water feature is made of
black stones, giving a nice contrast to the
light coloured pavers


Tuesday, November 28, 2006

We're ready to render and pave - Woo hoo!! (12 November 2006)

Since the last entry, we have moved on to the walking surfaces. It looks like we had made a bit of a mistake also on the heights of the steps, so we had to make some form work and re-set in concrete the steps to the fountain side.

We also built the steps to the garden using bezer blocks which were then filled with concrete; and we waterproofed the entire surface of the water feature, including the back wall.

Another thing we realised was that the pipe we had laid under the concrete footing to the fountain was not wide enough to carry the flow required by the water head, so we are now debating how to fix it. The most likely answer will be to bury a large water tank behind the wall (in the front garden), cut a wide hole to feed the water back into the tank, and feed the appropriate size pipe through the back of the wall.

The back of the water feature is now waterproofed...

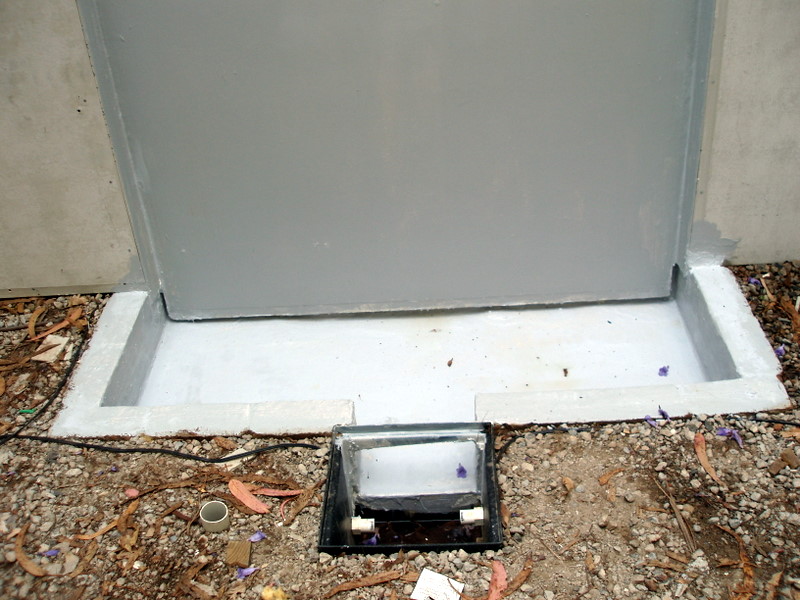
...Including the base and pit

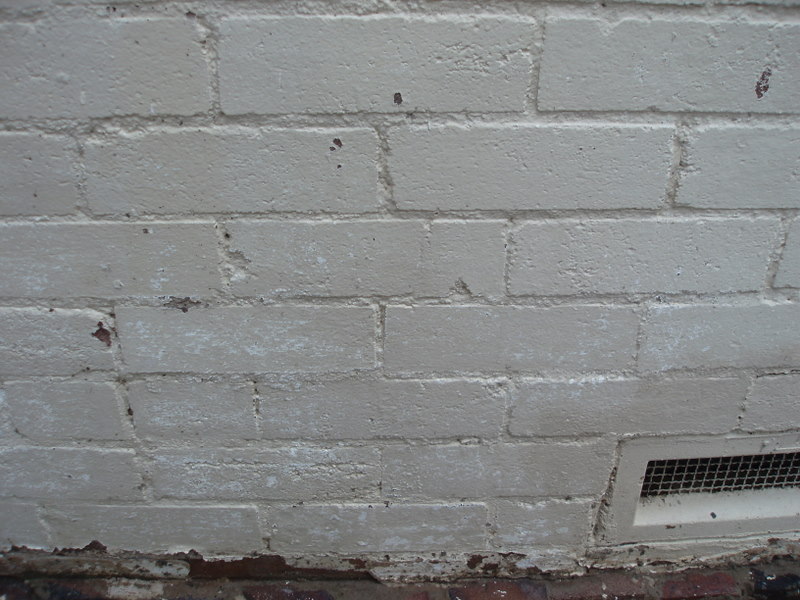
We had to use (diluted) hydrochloric acid to clean the cement from the walls

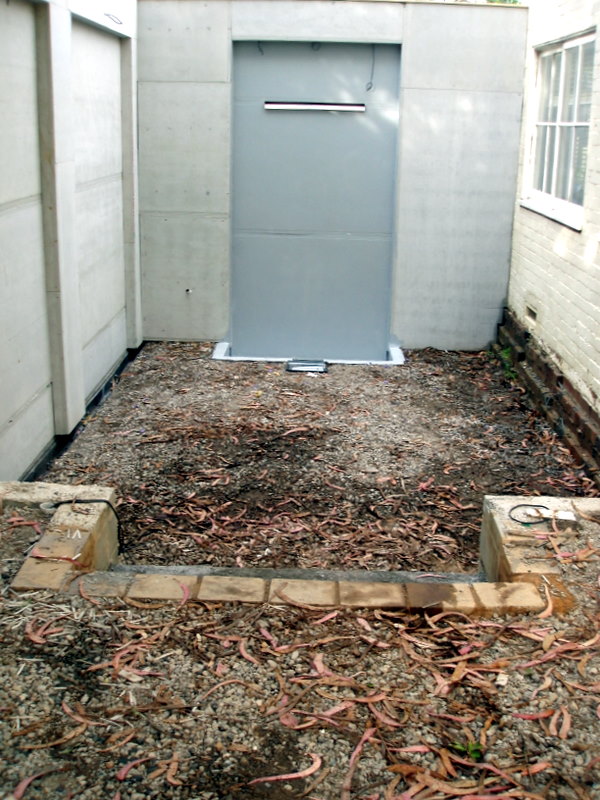
And the steps are now formed and ready for the next steps