WOO-HOO!! We have poured the concrete! (20 December 2005)
It's finally happened!!
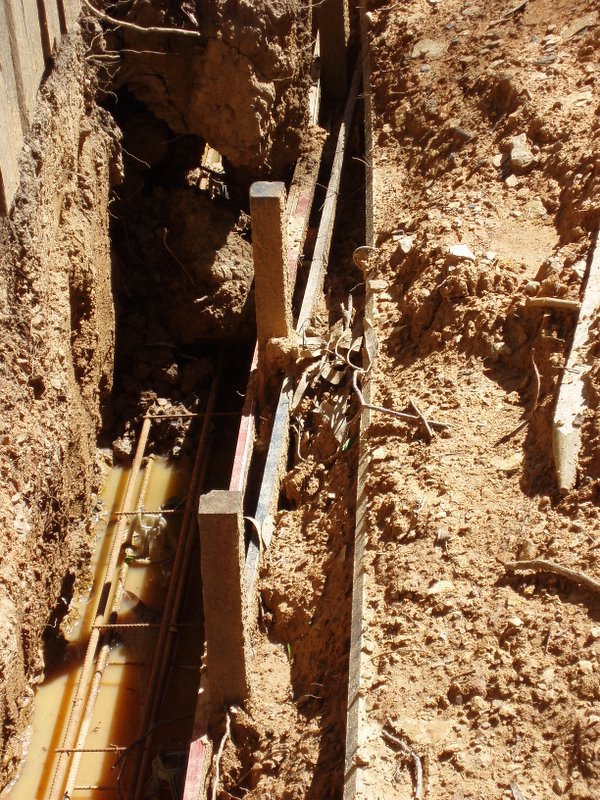
After many weeks of trying to organise it, we've managed to pour the concrete foundations. Yesterday Inee left to the South Coast with Elizabeth and Daniel (ahead of Gonzalo and I, who still had some work to finish), so I organised for the concrete truck to drop in at 2 PM and do the pour. Helping me where Matt and Trent, the husband of a good friend of hours(Phoebe) who now runs his own gardening business. TO make the pour easier, we got the truck to drive into our neighbours driveway (other side of the fence) and pour it straight into the foundations. The 'shoot' wasn't that long, so we had to use an extension that Matt had previously made out of left-over wood from the form work.
Note: Unfortunately, I did not take pictures of the foundation as it was poured, nor the day after (since we left to the South Coast to join Inee, Daniel and Elizabeth)
Tips:
- When ordering concrete, the company will demand that you call them and confirm delivery when you're ready to pour so that they can send the truck. As they say, once it is mixed, you mus pour it somewhere , so there is no point in sending the truck if you aren't going to make it that day. This was particularly useful as we had a couple of days when we had planned to do it, but the weather didn't help us and we ad to postpone.
- If you can find a way to get the truck close enough to pour directly into the trenches, it will save you effort, time and money. In our case, we had to 'push' some of the concrete from the middle of the deep trench (as far as our improvised 'shoot extension' would reach) down to its end at the back garden; But this was nothing compared to what we would have had to do if we had to barrow it in from our driveway. Given that the truck allows 35 minutes for the pour, and charges extra for additional time, this would have increase costs quite significantly.
- At the end of the pour, you will need to use a trowel to smooth the top of the surface out. I learned that a smooth plastic trowel can be easier to manager than a metallic one (which is what I had).
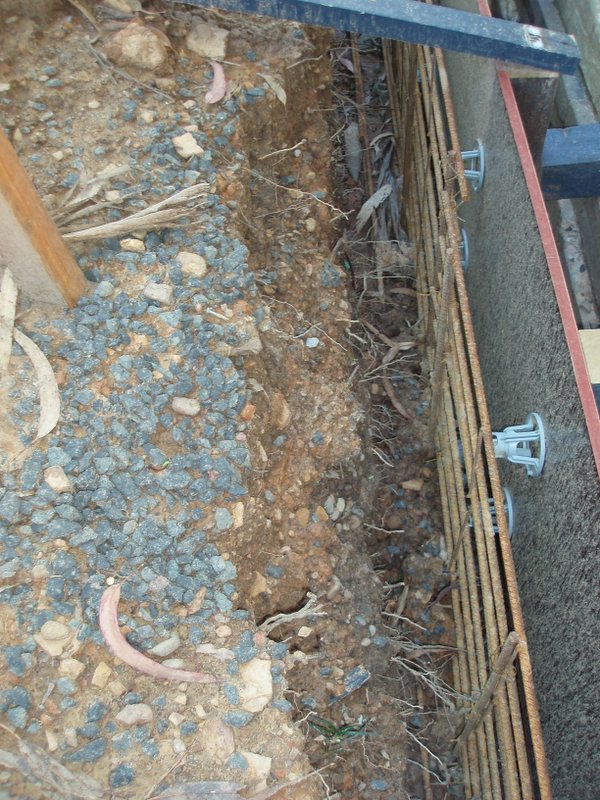
- You also need to be careful in how well you build the formwork. Some of the concrete started spilling into the gap between the house and the form through a gap at the bottom, so we had to scoop it out at the end and pour it back into other parts where we didn't have enough concrete
- Lastly, make sure you calculate the amount of concrete you need with a decent degree of precision! Too little and you will end up with foundations that are not properly poured; too much and you will have to find a place where you can drop the excess (and then you will have to deal with breaking it and taking it to the tip, as the truck will not take any excess concrete back to base)
posted by Diego at
9:09 pm
|
0 comments
![]()