Getting ready to build the retaining wall
The next step in this project is to get the area ready for building a retaining wall in the 'ground floor', so that the clay and soil from garden beds does not come crumbling onto it in the wet season.
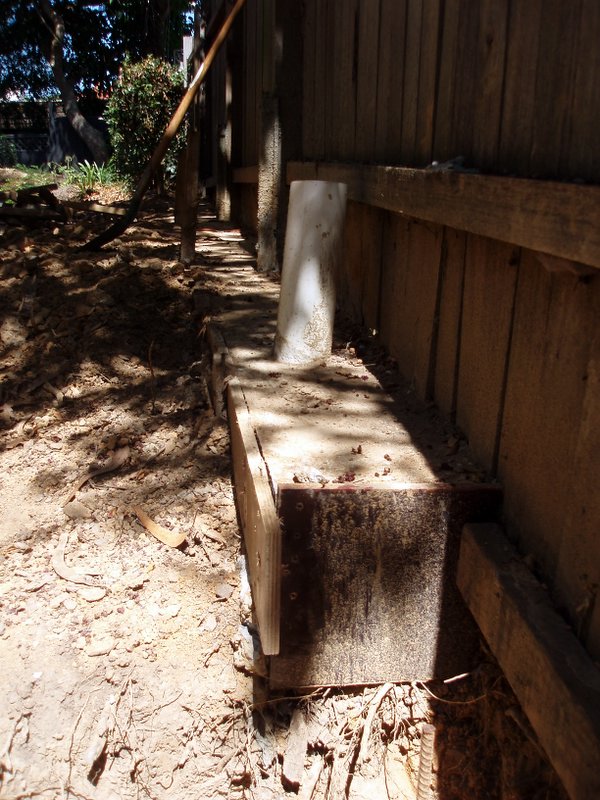
Before we do this, I had to dig some more trenches to allow us to put the drainage that will keep the lower floor from becoming a pool during the wet season. For this, I needed to dig a trench running along the left-side (next to the side fence), and from there I needed to dig another trench along which PVC tube will run, taking the water from the drain into the rainwater pipe that is right next to the water feature.
One last thing - never underestimate the amount of rubbish that every step will generate. Some weeks ago I hired a Ute and took a lot of the formwork that I pulled out when cleaning the area. After todays work, I ended up with another pile (albeit a bit smaller) that will need to be disposed as well. I may just wait for the pile to grow before I make another trip to the tip.
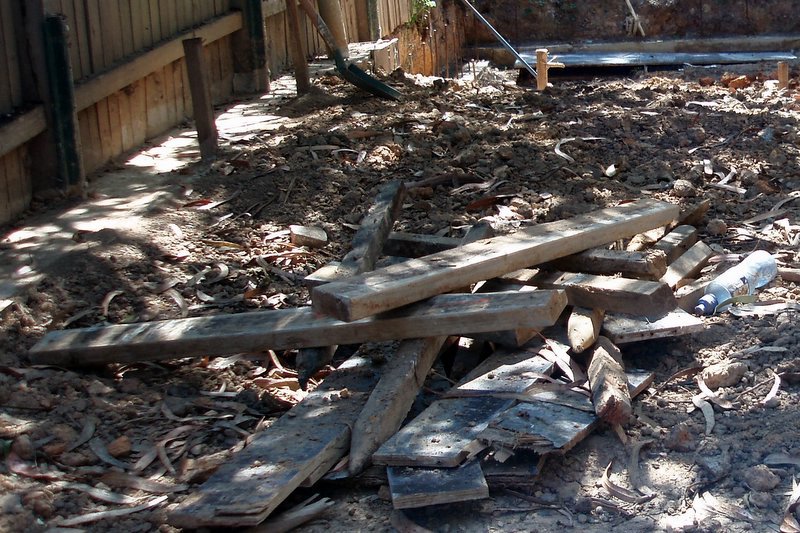
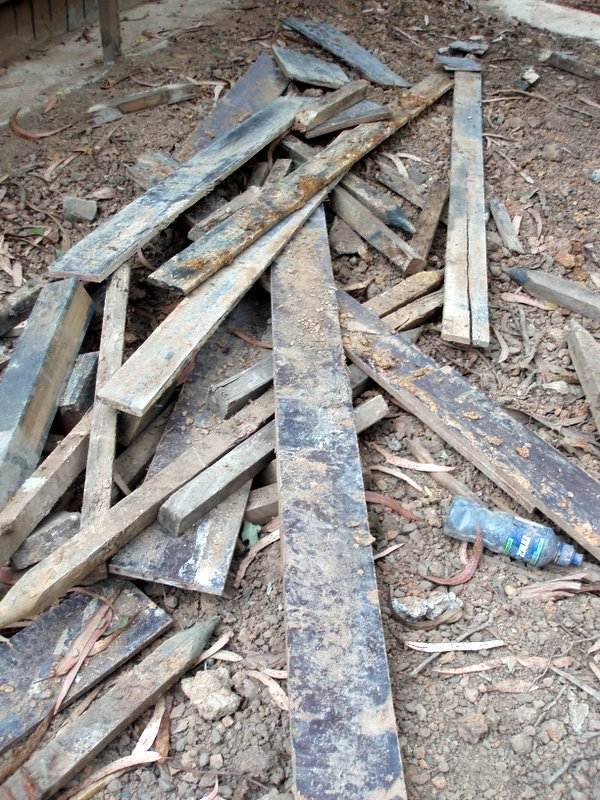 Never underestimate the amount of rubbish you can create!
  What a mess we made when we built the foundations!!
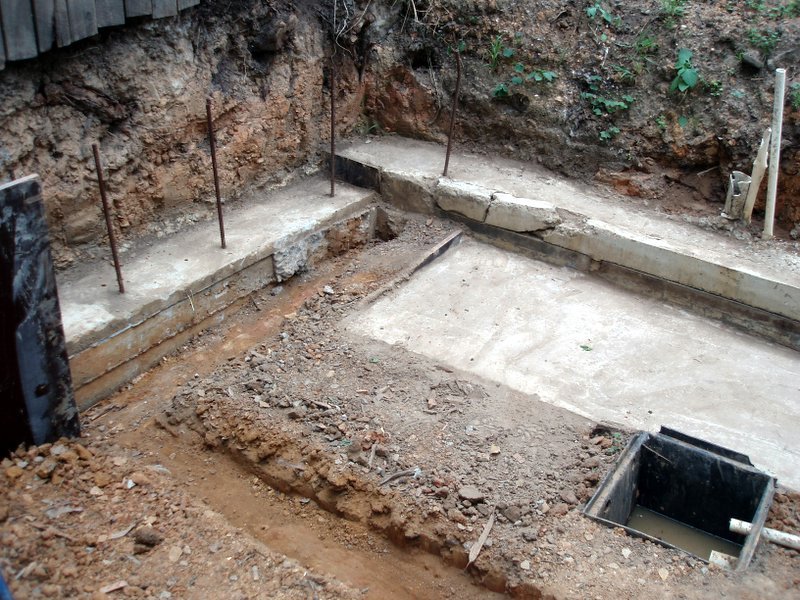
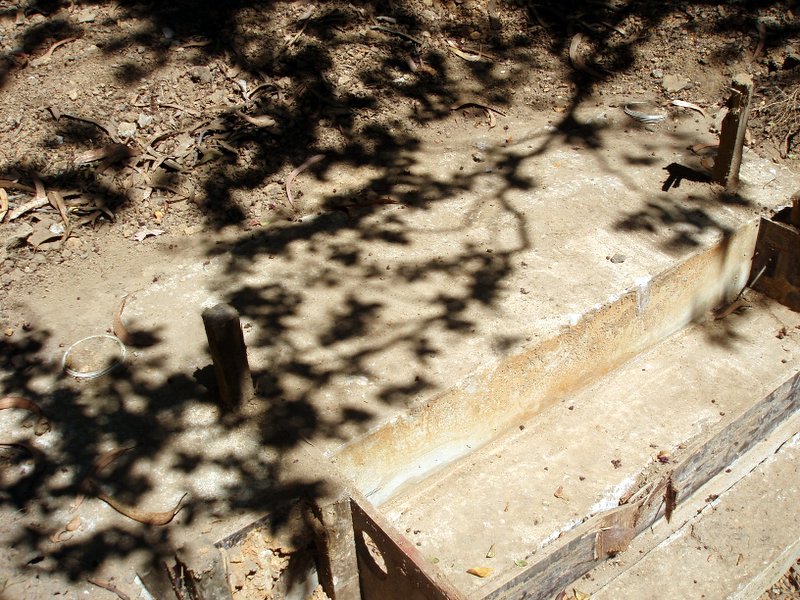
 The steps came quite nicely from the formwork
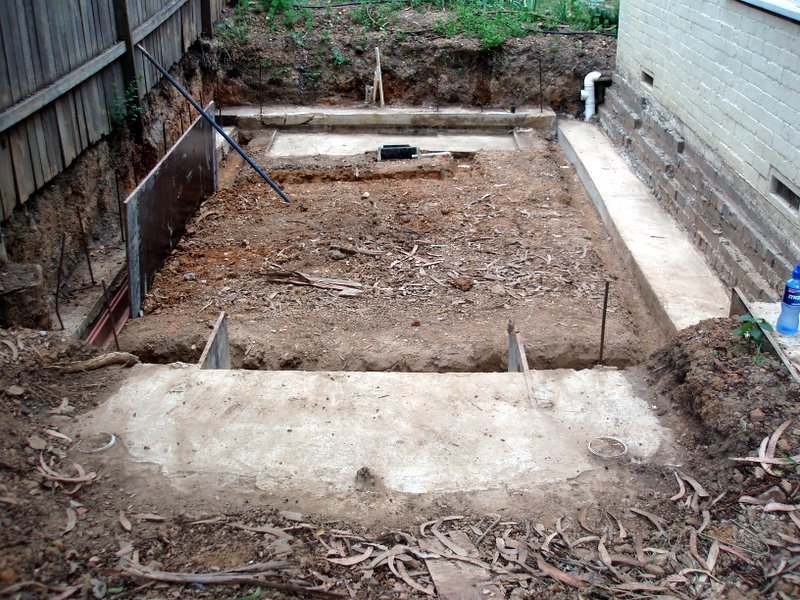 Panoramic view of bottom level
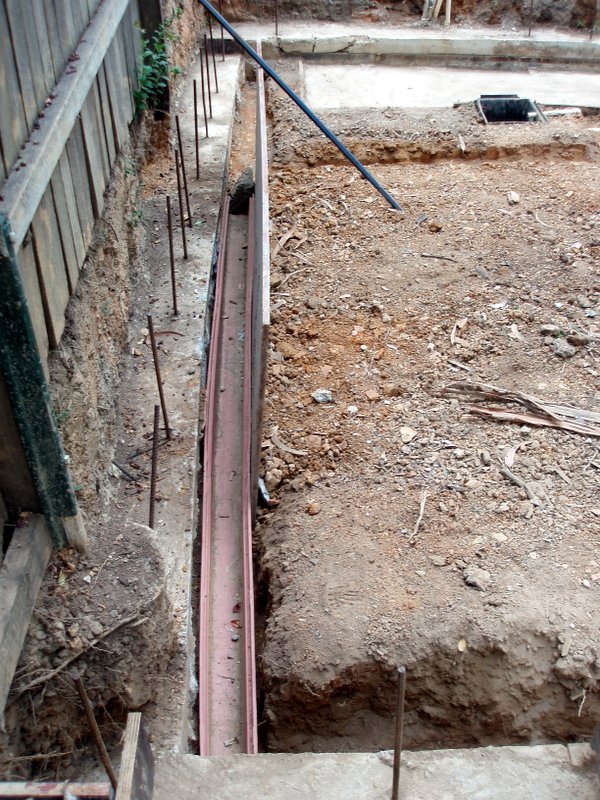
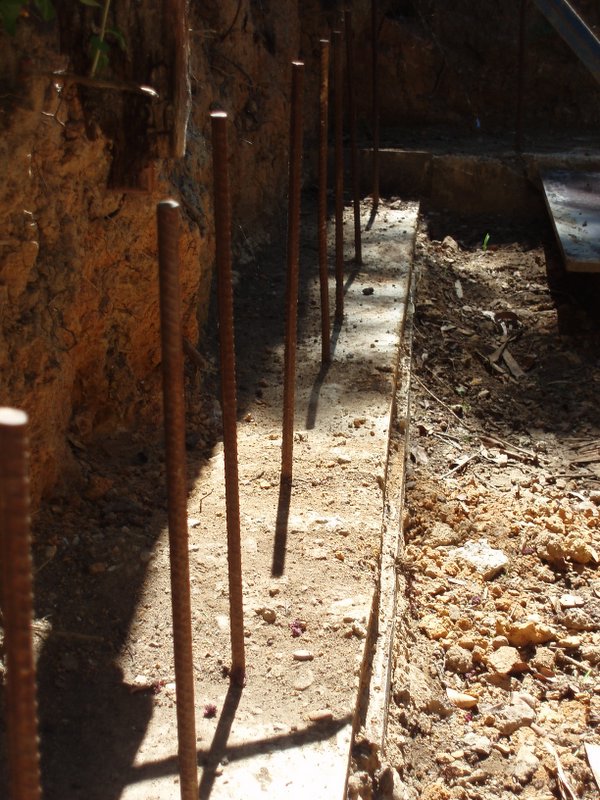
Notice the trench on the left for the drainage, and the reinforced steel bars for the retaining walls
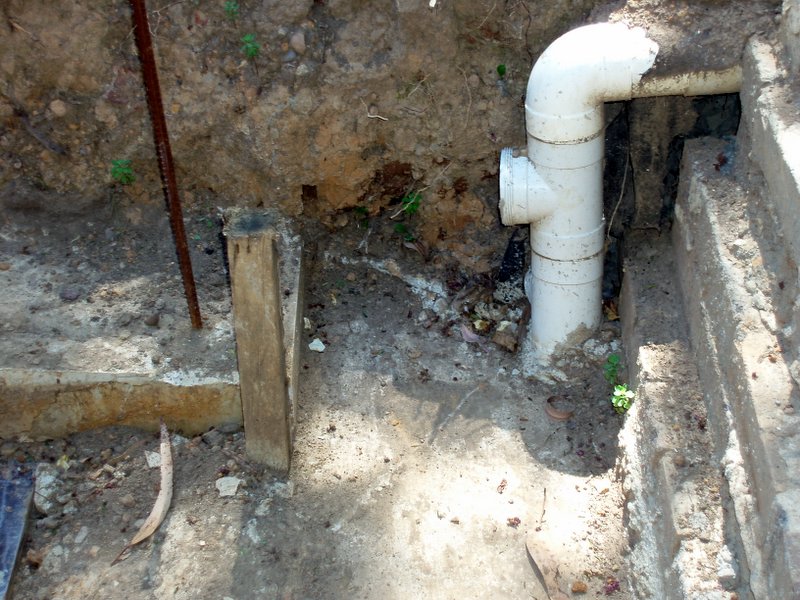
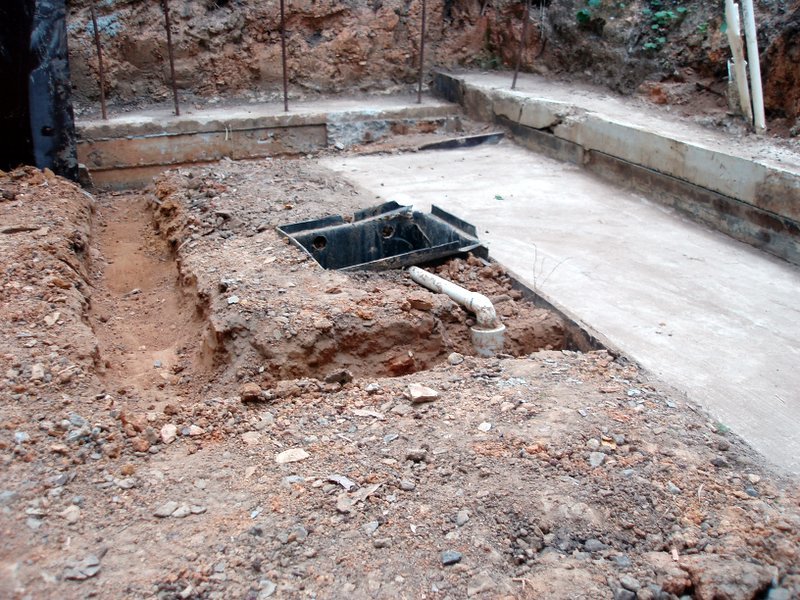 Concrete slab for the base of the water feature, with a trench to connect the drainage on the left
 Another view of the water feature slab and the trench for drainage
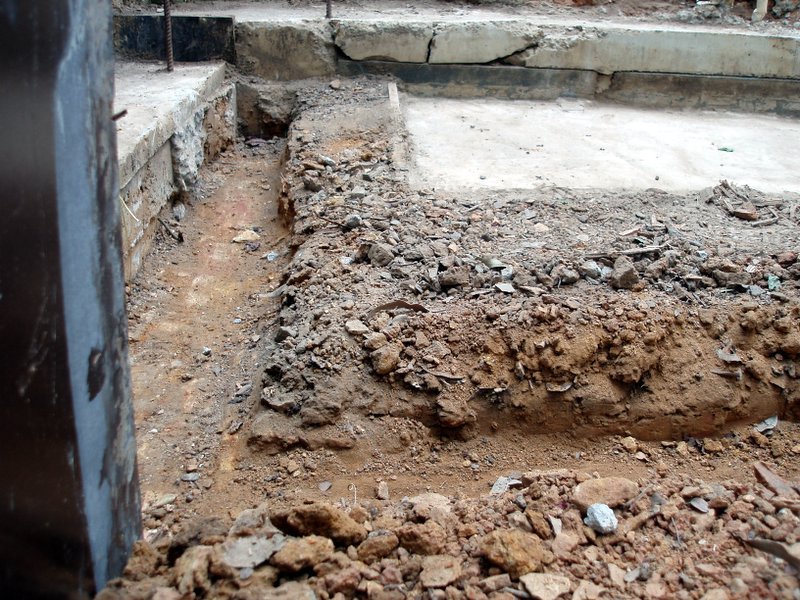
posted by Diego at
9:57 pm
|
0 comments
![]()


