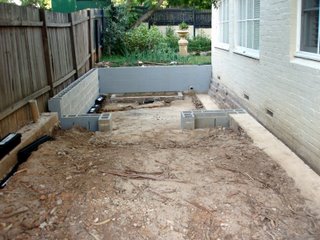
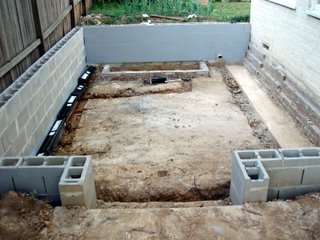
The retaining wall is built! (5 April 2006)
The retaining wall is in place, and it looks SO MUCH BETTER!!
I must confess I ended up hiring a bricklayer to do this job. It was trickier than I thought, so I decided to hire a professional for the job. As you can see, I am extremely pleased with the results.
The wall is made of bezer blocks which are hollow. Reinforced steel bars are layed between each row of blocks, to strengthen the structure, and there are vertical steel bars that will solidify the join between the foundation and the wall (and keep the wall straight and 'un-bendable'. I am yet to core fill the blocks with cement, which is what will make the wall rock-solid. I may work on a couple of things (like laying the lawn) before I get to this task.
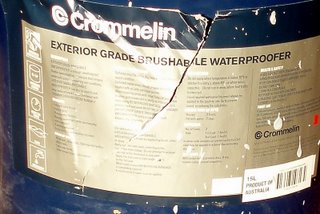
There was one more task that needed to be done, and I have already completed: to waterproof the back of the retaining wall. The purpose of doing this is to ensure that water does not come seeping through the wall we will build in front of it. To do this, we use a special paint that, when dry, becomes the sort of material that is used in wet suits. I had to use some material to stick on the joints between the wall and the back of the foundations to ensure a water-tight seal; and then applied 2 coats of the special paint to create the waterproofing membrane along the back of all retaining walls. I will also need to do the same to the base of the water feature.
Special thanks (again!) to my friend Matt for laying the row of bricks that forms the structure of the water feature.
 Panoramic view of the wall
  The drainage is ready to be 'locked into' position in the trench
  And the water feature has been created already
  The special paint I had to use to waterproof the back of the retaining walls.
